
Quail Egg Incubation Temperature + Humidity
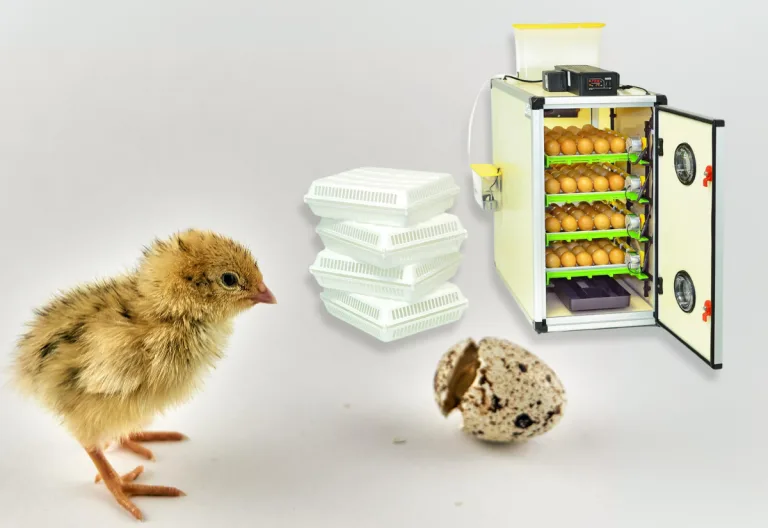
Incubating Coturnix quail eggs is one of the most rewarding parts of raising your own covey. But if there’s one thing that can make or break your hatch, it’s this: getting the humidity and temperature dialed in just right. I’ve hatched thousands of eggs over the years, and I can tell you from experience that even small shifts in either one can throw off your hatch rate in a big way.
In this post, I’m walking you through exactly how to set and maintain the right temperature and humidity in your incubator—plus how to troubleshoot if things start to go sideways. Whether you’re a first-time hatcher or just trying to boost your success rate, this guide will help you stay on track from start to hatch.
Why Temperature and Humidity Matter So Much
When you’re incubating eggs, the temperature and humidity aren’t just numbers—they’re what keep those tiny embryos developing the way they should. Too much heat or not enough moisture, and your chicks could end up weak, malformed, or stuck in the shell.
Temperature: Consistency is Everything
Coturnix quail eggs need a very narrow range of heat to grow. If it drops too low, development slows or stops. If it spikes too high, you risk deformities or early death. The key is to keep things steady—not just close, but locked in—throughout the entire incubation period.
Humidity: Controlling Moisture Loss
Humidity regulates how much moisture escapes through the eggshell over time. That moisture loss creates the air cell the chick will breathe from during hatching. Too much humidity and the chick could drown. Too little and the inner membrane dries out, making it hard to hatch.
Ideal Temperature and Humidity for Quail Egg Incubation
Here’s what I use in my hatchery with consistently strong results:
- Temperature:
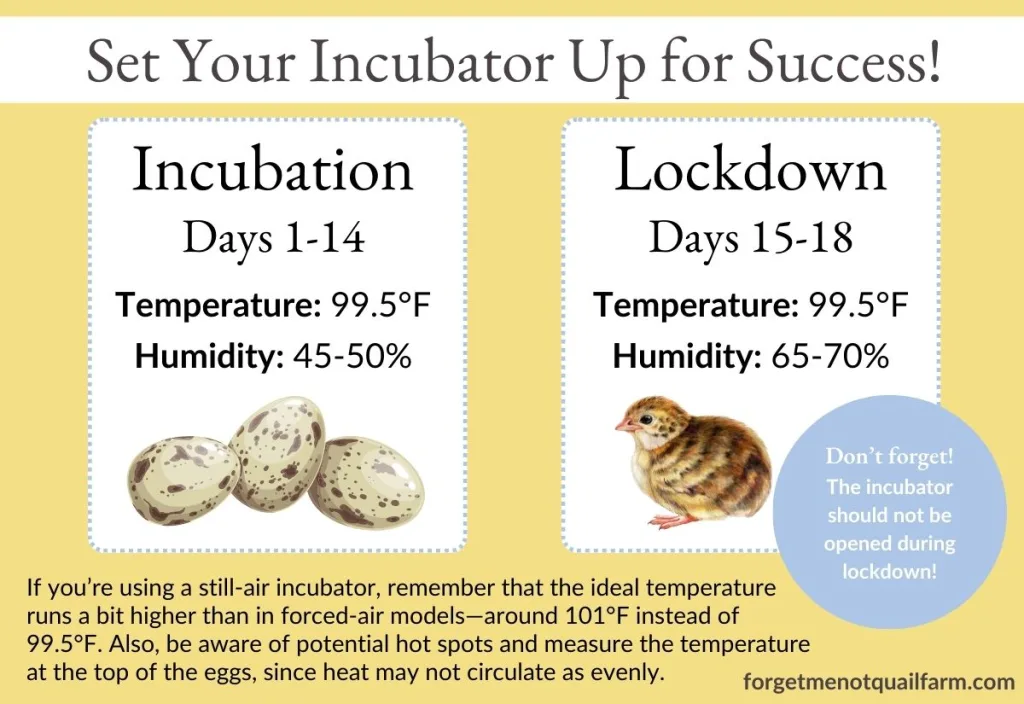
- 99.5°F (37.5°C) in a forced-air incubator
- 101°F (38.3°C) in a still-air incubator
- Humidity During Incubation:
- Maintain 45–50% relative humidity for the first 14 days.
- Humidity During Hatching:
- Increase humidity to 65–70% for the final 3 days before hatching.
This balance gives embryos time to develop properly while preparing them for a safe hatch at the end. If you want a full breakdown of the incubation timeline—including lockdown and hatch tips—read my Coturnix quail incubation guide.
How to Monitor and Maintain Conditions
Keeping your incubator stable doesn’t have to be stressful, but it does require the right tools and some practice.
Use Reliable Tools
Don’t trust your incubator’s built-in readings. I use a separate digital thermometer and hygrometer placed at egg level to get accurate, real-time feedback.
Calibrate Before You Start
Run your incubator for at least 24 hours before setting eggs. Use this time to check temperature consistency and confirm that humidity stays within range. Make small adjustments now, before your eggs are on the line.
Need help choosing an incubator? This guide on choosing and setting up an incubator covers everything I recommend.
Manage Humidity with Surface Area
Your incubator’s water channels manage the baseline humidity. If you need to raise it:
- Add clean sponges or small containers of water to increase surface area
- Mist the inside walls lightly (without hitting the eggs)
To lower humidity:
- Use less water
- Open air vents or remove some water sources
Adjust Temperature Slowly
If your incubator reads too high or too low, make small adjustments—then give it time to stabilize. I always double-check changes with my separate thermometer after at least an hour.
Avoid Frequent Opening
Every time you open the lid, heat and humidity drop fast. Try to group your tasks together—adding water, candling, turning (if manual)—and keep the lid closed during hatch time.

Common Issues and How to Fix Them
No system is perfect, and even with a dialed-in incubator, things can go wrong. Here’s how I troubleshoot the most common problems.
- Temperature Spikes or Drops: Move the incubator away from windows, vents, or direct sunlight. Consider using a heat mat or insulation wrap in cold rooms. A consistent room temp helps a lot.
- Inconsistent Humidity: Check for drafts or room humidity issues. Running a humidifier or dehumidifier in your incubation room can help. Use a sponge or water tray inside to fine-tune levels.
- Sticky Chicks at Hatch (too low humidity during lockdown): Increase humidity to 70%, and avoid opening the incubator until the majority of chicks have hatched.
- Overly Wet or Small Air Cells (humidity too high early on): Drop to 40–45% during days 1–14 next time. You can candle eggs mid-incubation to track air cell growth if needed (but it’s optional—I don’t bother unless I suspect an issue).
Optional but Helpful: Candling
Candling is shining a light through the egg to see what’s happening inside. It can be helpful to track development or confirm fertility, but I don’t typically candle unless I’m troubleshooting. Less handling means less risk of damage or contamination.
If you want to learn more about identifying fertile eggs before or during incubation, this quick guide on fertility testing walks you through it.
FAQs: Incubation Humidity & Temperatures
Yes. Accuracy is everything. Without good tools, you’re guessing—and that can tank your hatch rate.
Try rotating the egg trays every day or two. If the issue persists, consider upgrading to a model with a fan or better internal airflow.
Yes! If your incubator struggles with dry air, running a humidifier nearby can help stabilize the environment.
Chicks can become shrink-wrapped inside the membrane. To avoid this, increase humidity to 65–70% and keep the incubator closed.
Absolutely. Keep your incubator in a room that stays between 65–75°F with no drafts or direct sunlight.
No. Mist the inside of the incubator if needed to raise humidity—but never mist the eggs directly.

Getting the humidity and temperature right for quail eggs isn’t hard—but it does require consistency, observation, and the right tools. Once you’ve got your system tuned in, the results speak for themselves: stronger chicks, better hatch rates, and a smoother experience from start to finish.
If you’re ready to hatch your own eggs, or just want a step-by-step refresher, check out my full Coturnix incubation guide. And for those new to the process, my book, 5 Mistakes New Quail Breeders Make (and How to Avoid Them), has all the essential tips to get you started.
Happy hatching!